Ansible and Micetro DDI

Notice: This blog post was originally published on Men&Mice before its acquisition by BlueCat.
The content reflects the expertise and perspectives of the Men&Mice team at the time of writing. While some references may be outdated, the insights remain valuable. For the latest updates and solutions, explore the rest of our blog
This article explains how to start automating and orchestrating DNS, DHCP, and IPAM in a Micetro DDI environment using Ansible and the Micetro Ansible collection available on Ansible Galaxy. It walks a beginner through installing Ansible (recommended on Ubuntu 22.04 with pip and Python 3.6+), installing the menandmice.ansible_micetro collection, configuring group_vars/all and ansible.cfg, creating a micetro.yml inventory plugin file, and running a sample playbook to claim an IP address. The outcome is a working Ansible control machine configured to use Micetro plugins and modules so users can run playbooks to manage DDI resources and validate results directly in Micetro.
What are the minimum software requirements and recommended control machine for using the Micetro Ansible collection?
The article recommends using a Linux control machine, specifically an Ubuntu 22.04 VM, because running Ansible on Windows via WSL is more difficult. Minimum software requirements include Ansible version 2.10 or newer and Python 3.6 or above. It also suggests installing pip (python3-pip) and provides apt commands to add the Ansible PPA and install Ansible. Ensuring these versions lets the menandmice.ansible_micetro collection and its plugins/modules work correctly with your Micetro environment.
How do I configure Ansible to connect to my Micetro API after installing the menandmice collection?
After installing the menandmice.ansible_micetro collection with ansible-galaxy, you don’t create a traditional hosts inventory; instead you configure Ansible to use the Micetro inventory plugin. Create group_vars/all under /etc/ansible/ with mm_provider values (mm_url, mm_user, mm_password). Add an ansible.cfg that sets inventory = micetro.yml and enables the menandmice.ansible_micetro.inventory plugin. Then create a micetro.yml file that defines plugin: menandmice.ansible_micetro and the mm_url, mm_user, and mm_password credentials. Note the article warns to encrypt passwords in production and to use spaces (not tabs) for indentation in group_vars/all.
How do I run a simple Ansible playbook to claim an IP in Micetro and where can I find an example playbook?
With the control machine configured, create a YAML playbook file on the control host (for example play_claimIP.yml) and populate it with the example play_claimIP playbook found in the Micetro Ansible collection documentation. The article points to the project README.pdf on GitHub (chapter 4, section 4.5) for the play_claimIP example. After verifying YAML indentation and syntax, run the playbook with ansible-playbook play_claimIP.yml. Finally, check Micetro to confirm the IP was claimed successfully. The article also encourages sharing playbooks on Ansible Galaxy or the GitHub repo for feedback.
Want to learn how you can start automating and orchestrating DNS, DHCP, and IPAM with Ansible? Micetro has an up-to-date Ansible collection and plug-in right on Ansible Galaxy. If you missed our first article on setting GitHub up and installing Ansible, check it out here (especially if this is the first time you’ve used Ansible or GitHub).
This article is for someone who has never used Ansible before and is not currently running it in their environment. If you are an Ansible enthusiast already, I recommend just diving into the playbooks we’ve already created! https://galaxy.ansible.com/menandmice/ansible_micetro
Installing Ansible:
I’ll be using a Linux Ubuntu 22.04 VM for this. It’s highly recommended to use Linux as your Ansible control machine, because it’s just really hard to run it on Windows using the subsystem for Linux. Also, just do yourself a favor and install pip if you don’t have it already.
Note: Make sure you are installing at least version 2.10 of Ansible for the Micetro plugin to work correctly. You’ll also need to have Python 3.6 or above installed as well.
$ sudo apt update
$ sudo apt install software-properties-common
$ sudo add-apt-repository –yes –update ppa:ansible/ansible
$ sudo apt install ansible
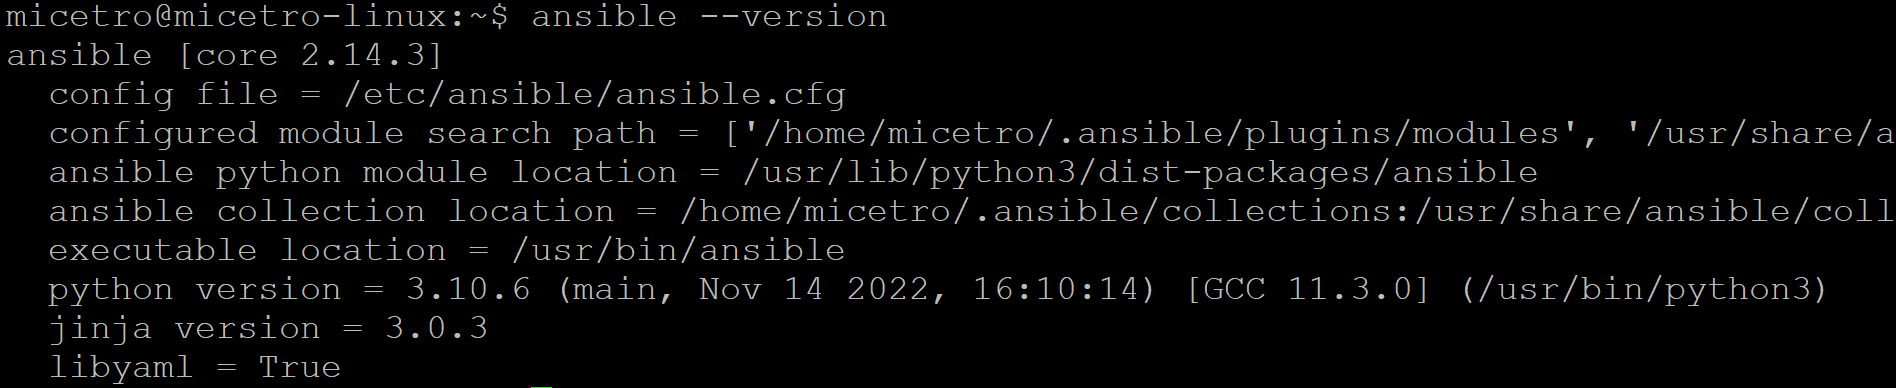
$ ansible –version
$ sudo apt install python3-pip
Setting Up Ansible for Micetro
Ansible for Micetro works a bit differently in that you won’t actually create an inventory list to reach out to managed nodes or “hosts.” Instead you’ll run the following command which will build out the necessary configuration to connect to your Micetro APIs. This will include building out the plugins and modules files we’ll talk about in the next section.
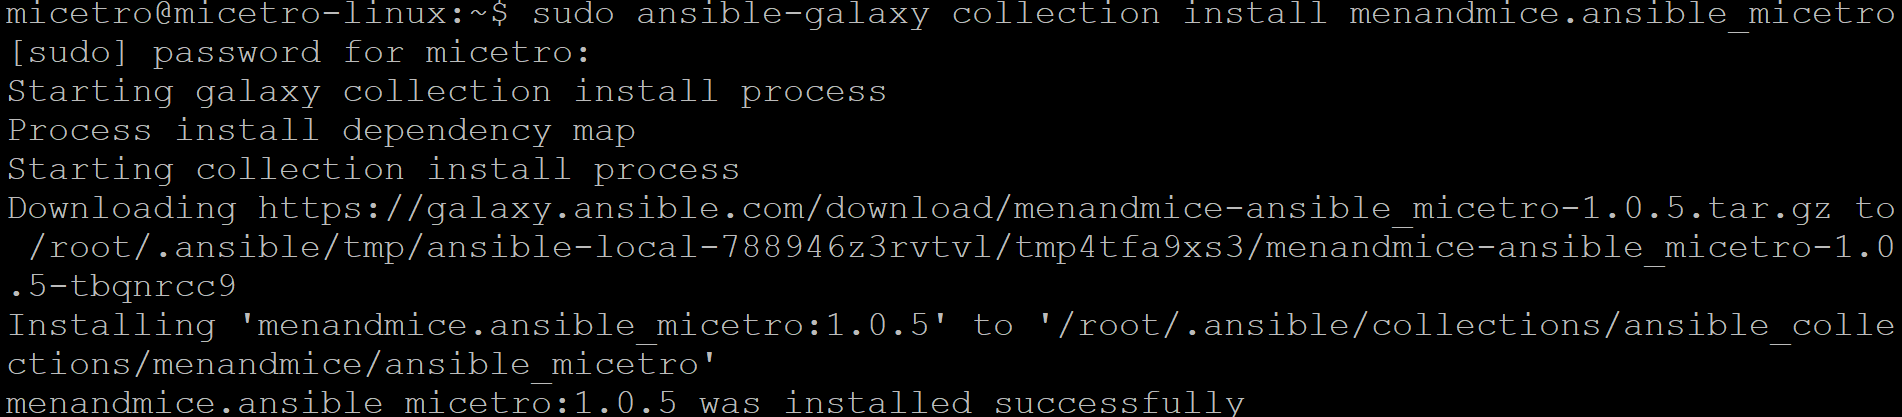
$ sudo ansible-galaxy collection install menandmice.ansible_micetro
Note, you will need to have Micetro up and running as well as have a Micetro account/password with necessary access to run API commands.
I can now go to ‘/root/.ansible/ to see what’s been configured.
#cd .ansible/
~/.ansible# ls

Plugins and Modules
If you’re following along in the Ansible documentation, then you’ll see there are a few different chapters or sections on Plugins and Modules. These are not the same as Ansible Playbooks, which we’ll talk about in just a bit.
Ansible Plugins – Extend the core functionality of Ansible.
Ansible Modules – a type of plugin that execute automation tasks on a ‘target’ (usually a remote system).
The Micetro plugins and modules have been built then, to extend the core capabilities of Ansible so that you may use it to create and manage workflows in your Micetro DDI environment. For more information on general plugins and modules, you can find it in the Ansible documentation here https://docs.ansible.com/ansible/latest/dev_guide/developing_locally.html
You don’t have to do anything with these plugins and modules as they. It’s like adding features to Ansible specific to Micetro. When we create Ansible Playbooks then, we’ll call upon these plugins and modules to do some of the work.
Now that we have Ansible installed and configured for Micetro generally, we can create a group_vars/all files which will tell Ansible where to look for Micetro.
Create a group_vars/all file in /etc/ansible/.
$ mkdir group_vars
$ touch group_vars/all
$ nano group_vars/all
mm_provider:
mm_url: http://micetro.example.net
mm_user: apiuser
mm_password: apipassword
Note: Generally you’ll want to encrypt this password so it’s not stored in plaintext anywhere, but we’re just going to use plaintext for the sake of this demo.
Note: Make sure you’re using proper indentation! The group_vars/all file requires spaces instead of tabs, where as in your playbooks you can use tabs.
You’ll also create an ansible configuration file called ansible.cfg. This will call the micetro.yml file, which we’ll get to in just a moment.
$ touch ansible.cfg
$ nano ansible.cfg
[defaults]
remote_tmp = $HOME/.ansible/tmp
inventory = micetro.yml
nocows = 1
[inventory]
enable_plugins = menandmice.ansible_micetro.inventory, host_list, auto
cache = yes
cache_plugin = jsonfile
cache_prefix = micetro_inv
cache_timeout = 60
cache_connection = /tmp/micetro_inventory_cache
[privilege_escalation]
become = False
become_method = sudo
become_user = root
become_ask_pass = False
You’ll also see a sample micetro.yml-sample file in /root/.ansible/collections/ansible_collections/menandmice/ansible_micetro
You can either change the name of that file or create a new file called micetro.yml.
$ touch micetro.yml
$ nano micetro.yml
plugin: menandmice.ansible_micetro.inventory
mm_url: “http://micetro.example.net“
mm_user: apiuser
mm_password: apipassword
Running a Playbook
Now, your Ansible control machine should be all set up to start running playbooks! Ansible playbooks contain tasks or “plays” which you can run to automate your environment. We’re going to get started with an easy one, of just claiming an IP.
This playbook may also be find in Ansible Galaxy, linked above. Remember that indentation really matters! So I’m just going to link to the README.pdf which contains the playbook example. https://github.com/menandmice/ansible_micetro/blob/main/docs/README.pdf
You can find the “play_claimIP” playbook in chapter 4, at 4.5. You’ll just need to create a yaml file on your control machine with a name like:
$ touch play_claimIP.yml
$ nano play_claimIP.yml
Once you’re in the editor, copy and paste the content from the example in the pdf. Make sure you go through and check indentation, although Ansible is pretty helpful and pointing out where syntax is incorrect.
When you’re ready to run it type the command:
$ ansible-playbook play_claimIP.yml
Then go check in Micetro to see if you were able to successfully claim the IP you indicated in the playbook.
Have Suggestions?
We’d love to hear how you’re using Ansible. Share your playbooks and ask for suggestions right in Ansible Galaxy or at the Github repo! https://galaxy.ansible.com/menandmice/ansible_micetro
Related content

BlueCat DDI data boosts Cisco Cloud Control AI-driven operations
BlueCat’s integration with Cisco Cloud Control provides AI agents with access to trusted DDI data for network investigation and remediation.

Automate your DDI modernization path by migrating with Micetro
Automate cross-platform DNS and DHCP migration with Micetro to reduce risk, eliminate manual effort, and modernize infrastructure faster.

How to map your network with user-defined links in Integrity X
Map your network with user-defined links in Integrity X to define and manage custom relationships, such as dual-stack and NAT environments.

Your journey to intelligent NetOps begins at Cisco Live
Visit BlueCat’s booth or book a meeting now to learn more about how our solutions can help you build a network that supports constant change.